If you have ever opened a door on a freshly washed car and found a gritty line of road film along the sill, you already know the problem. A thorough exterior detailing job in Glendale Heights IL usually focuses on the paint people see first, while the door jambs, the seam behind the mirror glass, and the rubber seals on soft-close doors stay dirty. Those are the panel areas most detailers skip, and they are exactly where high-end owners notice first. In this guide we explain how we clean and dress them on Chicago suburb cars, where the common shortcuts fail, and how to protect the work between visits.
Table of Contents
- Quick Takeaways
- Why Door Jambs Get Skipped
- Door Jamb Cleaning Method
- Soft-Close Door Gaps and Seal Lines
- Mirror Backs and Housings
- Panel Gaps: Clean, Don't Fill
- Comparing Jamb Cleaning Approaches
- Illinois Conditions That Hurt Jambs
- Protecting Jambs Between Details
- Frequently Asked Questions
- References
Quick Takeaways
| Key Insight | Explanation |
|---|---|
| Clean jambs before the wash | Grime sitting in a jamb drains onto clean paint during the wash if you leave the jambs for last. |
| Dwell with the doors closed | Diluted cleaner needs a few minutes inside the closed-door cavity to loosen film before you agitate. |
| Dilute first, escalate only if needed | Start with a mild mix on painted jambs and go stronger only on heavy buildup, so you don't dull the paint or stain rubber. |
| Mirror backs hold water and film | Check the seam behind the glass and the housing edge, then dry them fully before you dress anything. |
| Clean panel gaps, don't reshape them | Detailing removes grime from gaps. Changing gap width or panel alignment is body work, not detailing. |
| Dress rubber with a thin, non-greasy product | Heavy silicone sprays transfer to carpet, door glass, and clothing, and they attract more dust. |
Why Door Jambs Get Skipped
Most detailers price a job around what the customer sees from ten feet away. Paint, wheels, glass, and trim take most of the time, and the jambs get a quick wipe if they get anything at all. In our experience, that is why a car can look finished in the driveway and still show grime the moment someone opens a door.
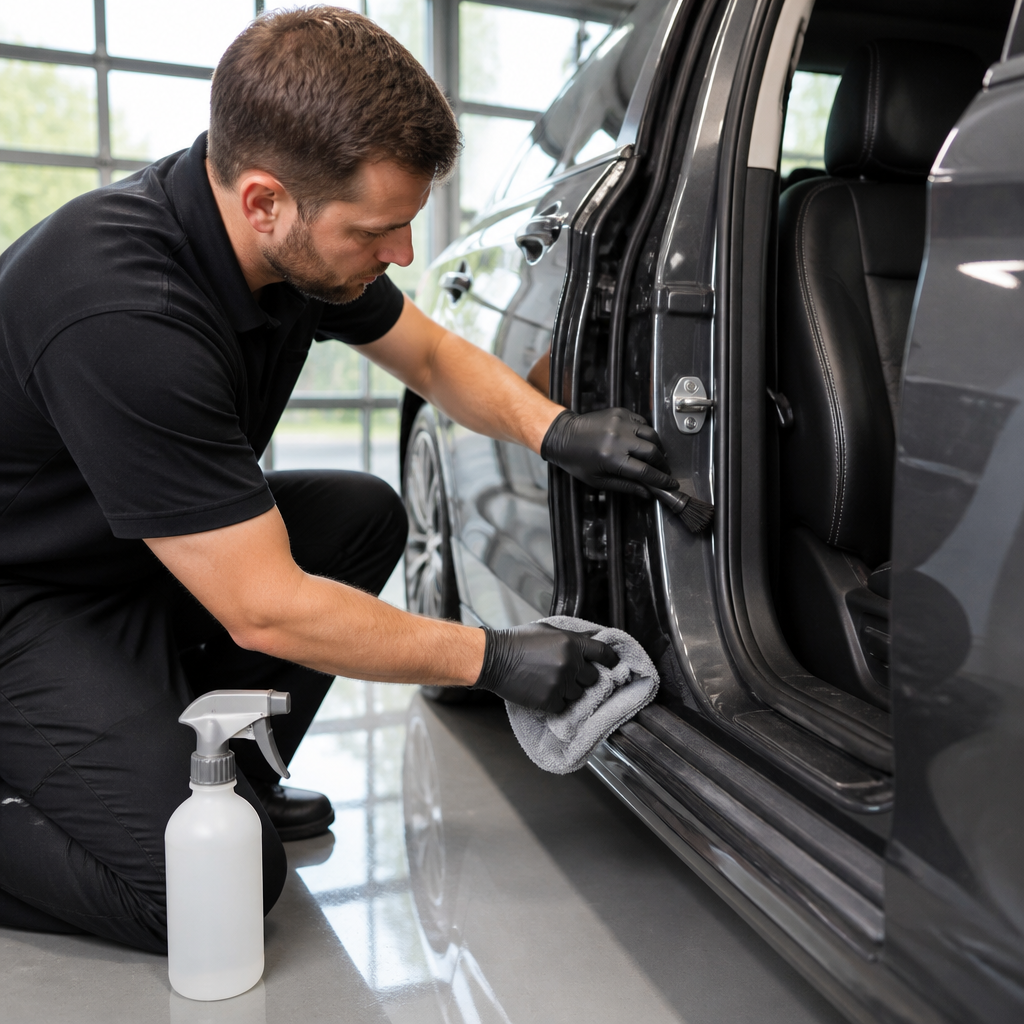
The jamb is the part of the body the door closes against. It collects brake dust, road film, and spray that comes up under the rocker panel. On soft-close doors it also holds fine debris around the latch and striker, because the door seals tightly and the dirt stays put.
Skipping jambs is not a time-saving decision, it is a sequencing mistake. If you wash the outside first and wipe the jambs last, the water running out of those cavities flows over the paint you just finished. A bit of grime on the sill can undo the shine on a fender in a single pass.
High-end owners tend to notice jambs for a different reason. They open the door to get in, they open it for passengers, and they see the seam every time they park in front of the house. A clean jamb tells them the rest of the car was done with the same care.
Jambs are the most honest part of a detail. Nobody photographs them, but everybody opens a door.
Door Jamb Cleaning Method
Our sequence starts before the car gets a single pass with the wash mitt. With all doors closed, we spray a diluted cleaner into the jamb area, let it dwell for a few minutes, and then rinse along the door seams with a light jet of water. Keeping the doors shut holds the solution inside the cavity where the grime sits, instead of letting it run down the outside of the paint.
Pre-Wash Dwell With Diluted Cleaner
Dilution matters more than strength. A cleaner that is too strong on painted jambs can dull the finish or leave residue on rubber, so we start mild and go stronger only where the buildup is heavy. Enthusiast forum threads often describe a similar dwell-first approach, using a diluted cleaner before any scrubbing.
Dwell time is the step most people rush. Give the cleaner a few minutes to loosen the film, then agitate. Skipping dwell means you are scrubbing dry grime and pushing it deeper into the seam.
Agitation Inside the Hinge Pockets
Hinges are where a jamb job slows down. Dirt packs into the pivot area and under the hinge arm, and a rag alone will not reach it. We use soft detail brushes and a few bristle tools sized for tight gaps, working from the top of the jamb downward so loosened dirt falls away from areas we have already cleaned.
For greasy buildup near the lower hinge and drain areas, a steam vapor cleaner works well. Spray the area with diluted cleaner, let it sit, then hit it with steam and wipe it away before it dries. Keep the steam moving, because holding it in one spot can soften rubber or trim.
Pro tip: Lay a folded towel along the carpet edge before you start agitating inside the jamb. Overspray and drips on carpet are the most common complaint after a jamb job, and the towel takes about two seconds to place.
Drying and Dressing the Jamb Surface
Dry every jamb fully before you dress it. Trapped water under a dressing gives a streaky, tacky finish and attracts more dust. A blower or a clean microfiber in each seam handles this in a few minutes.
On painted jambs, we use a light paint cleaner or polish to remove residual film before applying a protectant. On rubber seals and weatherstripping, we use a thin, non-greasy UV protectant applied with a foam pad. Heavy silicone looks great for a day, then transfers to fabric and glass.
Soft-Close Door Gaps and Seal Lines
Many luxury vehicles close their doors with a powered or assisted latch, and the seal is designed to be tight. That tight seal is what makes the gap a problem. The rubber lip, the body flange, and the carpet edge form a narrow channel where dust, pollen, and fine grit collect and stay.
Why Soft-Close Systems Trap Grime
A standard door often lets some air and debris move in and out as it opens and closes. A soft-close door seats with more pressure and less movement, so loose grit gets pressed into the seal rather than blown out. In practice, we find more compacted grime along the upper edge of the door opening on these cars than on conventional doors.
Check the striker area and latch housing too. A little dust in those spots can affect how cleanly the door seats, and some owners notice it first as a change in closing sound. If a door closes differently after a detail, flag it to the technician before you leave.
Cleaning Along the Weatherstrip
Work the weatherstrip with a soft brush and diluted cleaner, then wipe with a damp microfiber. Follow the seal's full length, including the bottom corners, where water and grit settle. Avoid aggressive pads that can tear or fray the rubber lip over time.
Keep the door open while you clean the seal and check for any dried residue or old dressing. Built-up product is one of the reasons seals look dull and pick up dust faster. Clear it off completely before adding new protectant.
Dressing Rubber Without Staining Paint
Overspray is the enemy here. A dressing that runs onto the painted edge of the door will leave a greasy line that is hard to remove later. We apply product to a foam pad, not directly onto the seal, and wipe the surrounding paint before the product sets.
Once the seal is dressed, close the door slowly and check for smears on the adjacent paint and glass. Wipe any transfer immediately with a clean towel. A thin product that dries to the touch is always better than a heavy coat that stays wet for hours.
Mirror Backs and Housings
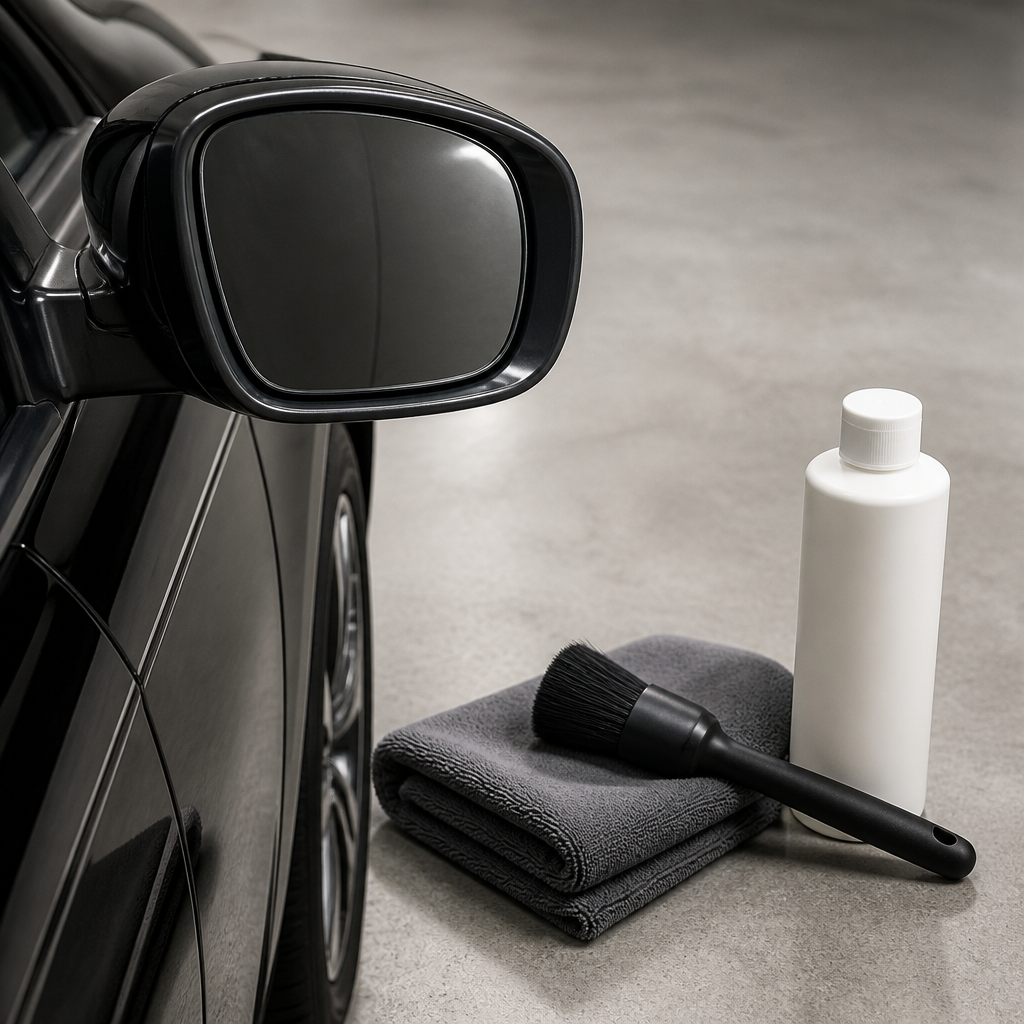
The back of a side mirror is one of the most neglected spots on any vehicle. Road spray, wiper fluid residue, and wet leaves land behind the glass and in the housing seam, and most wash routines never reach them. On a car that lives outside in the suburbs, that buildup shows up as a hazy line at the edge of the glass.
Where Water and Film Collect Behind the Glass
Water tends to sit in the lower edge of the housing, especially after rain. When it dries, it leaves mineral spots and film that look like stains on the glass. Dry the mirror housing completely after washing, paying attention to the lower edge and any gap where the glass meets the frame.
Use a soft microfiber wrapped around a thin tool to reach the seam behind the glass. Do not spray cleaner directly into the housing. Apply the product to the towel instead, so you control how much liquid gets into the electronics and wiring.
Mirror Housing Seams and Power Fold Mechanisms
Power-folding mirrors have a pivot and a motor that sit close to the housing edge. We clean around them carefully with a dry brush first, then a barely damp towel. A flood of cleaner here is a bad idea, because it can run into the mechanism and cause problems that show up weeks later.
Check the seam for hairline cracks or lifting trim while you are there. A detailer is not the right person to repair those, but noting them early keeps you from blaming the detail when a problem shows up later.
Glass Edge and Sealant Care
The glass edge of a mirror is often sealed or bonded, and aggressive cleaning can break down the edge over time. Use a mild cleaner, avoid abrasive pads, and dry the edge with a clean towel. This is a small step that keeps the mirror looking sharp after a year of road use.
Pro tip: Clean mirror backs after the rest of the car is dry, not during the wash. Water moving behind the glass during a rinse just moves the grime around, and a dry pass is faster to finish.
Panel Gaps: Clean, Don't Fill
Panel gaps are where many customers expect a detailer to fix something. The gap between a door and a fender, or between a hood and a bumper, is part of the body structure. Detailing can clean what sits inside those gaps, but it cannot change their width or alignment.
What Detailing Can and Cannot Change
Detailing removes grime, wax residue, and old dressing from gaps and edges. It can make an uneven gap look cleaner, but it cannot make it even. If a gap is visibly off, the cause is usually the hinge, the mounting, or a prior repair, and that work belongs with a body shop.
Restoration forums are a useful reference here. Builders in those threads describe taping over the gasket and using backer rod inside wider gaps before any filler goes in. That is body work, and it is a different trade from the one we do at our bay.
Edge Protection During Cleaning
When we clean a gap, we protect the painted edges on both sides. Painter's tape on the adjacent surface keeps polish or cleaner from creeping onto a trim line. This matters most on two-tone trim and along the edges of black plastic.
Cleaning a gap also means checking for lifted paint or chips at the edges. Those are the points where water gets in and where rust starts later. Note them and tell the customer, because the gap is the first place corrosion shows up on an aging vehicle.
Trim and Painted Edges
Plastic trim and painted edges need different handling. Plastic can be cleaned with a dedicated trim product, but it will look dull if you use the same polish you use on paint. Painted edges can take a light polish, but you need to stop before you burn through the clear coat on the corners.
Finish the gap with a light wipe of protectant only where the trim is designed for it. Over-dressing plastic trim can make it look greasy and attract dust, which is the exact problem you were trying to solve.
Comparing Jamb Cleaning Approaches
Three approaches cover most of what we see in practice, and they are not interchangeable. The right choice depends on how dirty the jamb is, how much time you have, and whether the car has painted or plastic surfaces inside the opening. The table below compares them based on what we see on Chicago suburb vehicles.
| Approach | Best For | Where It Falls Short |
|---|---|---|
| Diluted cleaner dwell with brush and rinse | Routine details on daily drivers with moderate grime | Needs careful dilution on painted jambs and takes longer than a wipe, so it is hard to fit into a quick maintenance visit |
| Steam with diluted cleaner | Greasy buildup near the lower hinge and drain areas | Can soften rubber or trim if the steam dwells too long, and it requires a careful, controlled technique |
| Dry wipe with light protectant only | Light maintenance between full details, or a fresh coat on already clean jambs | Does nothing for compacted grime in the seams, and leaves residue behind if the jamb was not cleaned first |
In practice, most jobs use the first method as the base and add steam only where the hinges or drain areas need it. The dry wipe is a maintenance tool, not a replacement for a proper clean. Using it as the only method is how jambs end up looking clean in the driveway and grimy after the next rain.
Illinois Conditions That Hurt Jambs
Where we work matters. The suburbs around Glendale Heights, Bloomingdale, Carol Stream, and Wheaton see distinct seasons, and each one brings a different kind of grime into the jamb. A cleaning routine that works in July can leave a car looking dirty by the end of winter if it does not account for what the season is adding.
Autumn Leaves and Wet Debris
Fall brings wet leaves, pollen residue, and tree sap that settle into the jamb and the mirror seam. Wet debris packs tightly and holds moisture against the paint. As we move into late autumn, we see more jambs with damp, organic buildup that smells before it looks dirty.
Clean these areas early and dry them fully. Organic debris left in a jamb can stain the paint and leave a musty smell that a simple wipe will not remove.
Winter Road Salt and Slush
Road salt and slush are the biggest jamb problem during the cold months. Salty water runs under the rocker panel and into the jamb area, then dries into a white film that looks like mineral deposits. Rinsing with plain water rarely removes it.
A diluted cleaner dwell is the right tool here, followed by a thorough rinse and dry. Leave the doors open for a while after washing so trapped water can evaporate from the cavity.
Summer Heat and Dust
Summer dust and heat are less dramatic but still matter. Dry dust settles into weatherstrip seams, and high temperatures can dry out rubber faster. In summer we focus on dressing seals with a light UV protectant and checking for cracking along the lower corners.
Heat also makes dressing harder to control. Apply product in the shade, in small amounts, and wipe excess before it flashes off on the paint.
Protecting Jambs Between Details
A jamb that is cleaned once and then ignored will be dirty again within a few weeks, especially in winter. The goal of protection is not to make jambs maintenance-free, but to make the next clean faster and less aggressive. Our approach combines clean jambs at every full detail, targeted protection, and a simple routine between visits.
Coating Scope and Jambs
Our nano-ceramic SiO₂ coatings carry 5-8 year warranties, but the scope depends on the package you choose. Many coating jobs focus on the visible exterior panels, so jambs are not always included by default. Ask us directly whether jambs, mirror backs, and the seal areas are part of your plan before the work starts.
Coatings make grime release easier on the surfaces they cover, which helps during washing. They do not stop buildup inside seams, so the cleaning routine still matters. Our detailing services are structured to include jamb work where it fits the coating plan.
Maintenance Between Full Details
Between full details, a quick wipe of the jambs with a damp microfiber after each wash keeps buildup from settling in. Check the mirror seams and weatherstrip corners once a month, and wipe any residue before it dries. A few minutes of attention here saves a full steam session later.
Pro tip: Open each door and wipe the jamb while the car is still wet from the wash. Wet grime lifts more easily than dried grime, and that one habit keeps most jambs in good shape between visits.
Frequently Asked Questions
How often should door jambs be cleaned in the Chicago suburbs?
Jambs should get a full clean at every complete detail and a quick wipe after washes, especially in winter when road salt is present. Between details, a monthly check of the seams and weatherstrip corners catches most buildup before it sets.
Can you use an all-purpose cleaner on painted jambs?
Yes, but dilute it first and test a small area before you work the full jamb. Painted jambs can dull if the cleaner is too strong or left to dry on the surface. Rinse thoroughly and dry the area before dressing it.
Will cleaning soft-close door seals damage them?
Gentle cleaning will not damage a healthy seal. Avoid abrasive pads, use soft brushes and microfiber, and apply a thin protectant rather than heavy silicone. Damage usually comes from harsh tools or old, built-up product that was never removed.
Is steam safe to use on mirror backs?
Steam can work well on greasy buildup, but it needs a controlled technique. Keep the steam moving, never hold it on one spot, and avoid spraying wet cleaner directly into the mirror housing. Dry the area fully afterward.
Do detailers fix panel gaps?
Detailing cleans panel gaps, but it does not change their width or alignment. If a gap is uneven, the cause is usually the hinge, mounting, or a previous repair, and that work belongs with a body shop.
Does a ceramic coating make jambs easier to clean?
A coating can make grime release more easily from the surfaces it covers, which helps during washing. It does not stop buildup inside seams, and jambs are not always included in the coating scope, so confirm that before the job.
Have you found a jamb or mirror-back method that actually works on your car, and what did it take to get that seam truly clean?